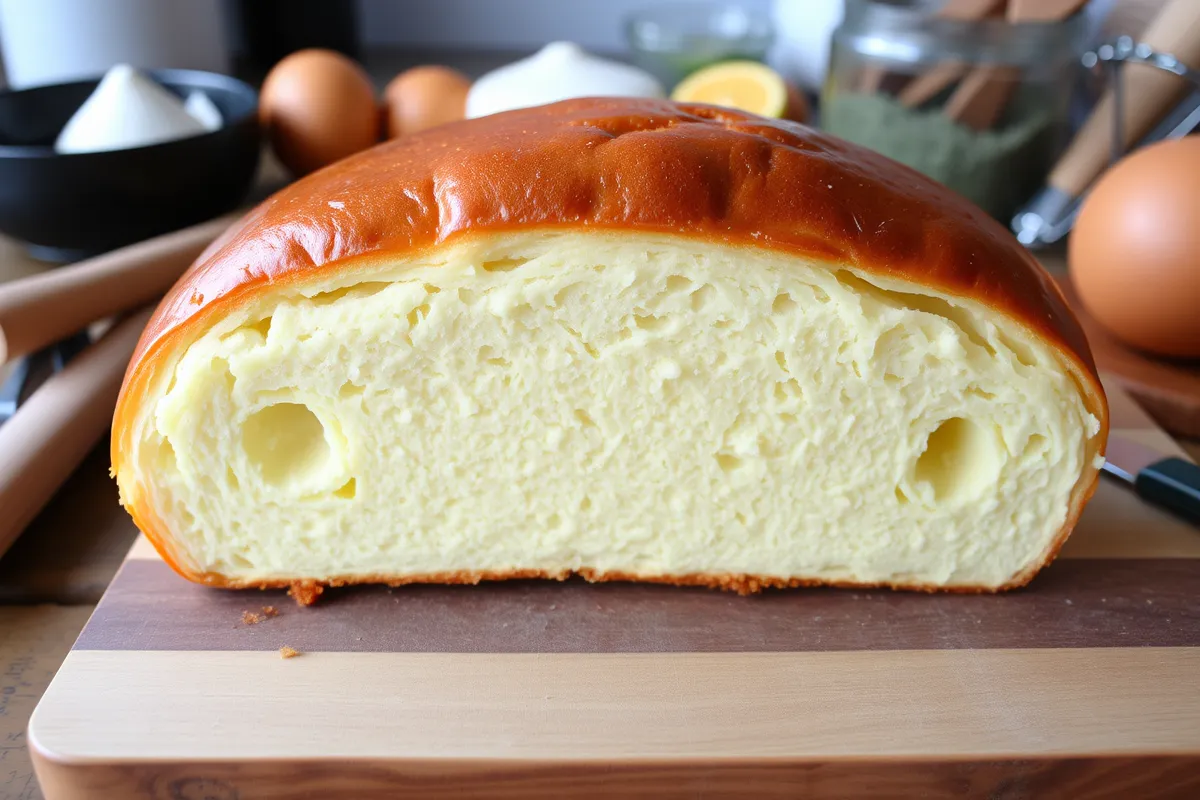
Brioche bread is no ordinary bread—it’s a rich, buttery masterpiece that stands out with its soft, tender crumb and golden crust. Whether you’re a seasoned baker or just starting your baking journey, mastering a perfect brioche recipe unlocks a world of culinary possibilities. This guide will walk you through everything you need to know: from its fascinating history to step-by-step instructions, essential tips, and even mouthwatering variations. Let’s dive in and create a loaf that’s not only delightful to eat but also a feast for the eyes.
Understanding Brioche
What is Brioche?
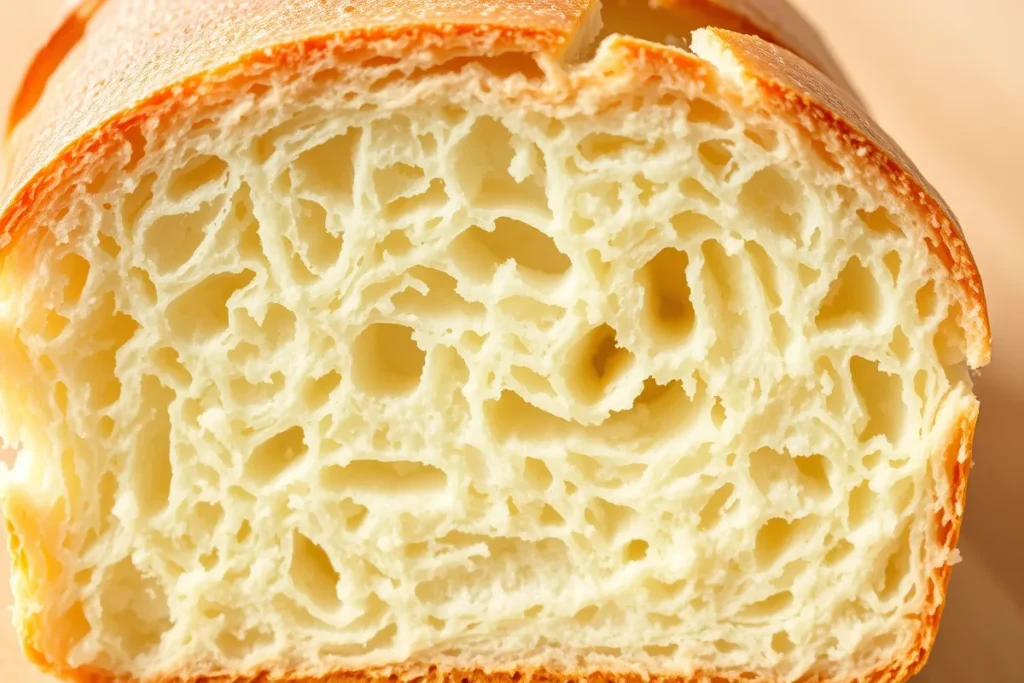
Brioche is a type of French bread that belongs to the enriched dough family. Unlike regular bread, it’s packed with butter, eggs, and milk, giving it a uniquely rich flavor and an irresistibly soft texture. The buttery taste makes it versatile—ideal for breakfast, sandwiches, or desserts.
This bread is not only about indulgence; it’s a reflection of culinary artistry. Bakers worldwide cherish its ability to strike the perfect balance between a buttery loaf and a cloudlike crumb.
History and Origin of Brioche
The origin of brioche dates back to 15th-century France, where it became a staple in royal kitchens. Bakers crafted this dough to highlight luxurious ingredients like butter and eggs, which were considered symbols of prosperity. Over centuries, the recipe evolved, incorporating techniques like long kneading and extended proofing, which gave brioche its signature lightness.
Today, this classic French bread enjoys international acclaim, symbolizing comfort, indulgence, and sophistication.
Characteristics of Brioche Bread
What sets brioche apart from other breads? Its hallmark lies in its texture and flavor. A perfect brioche features a glossy crust, thanks to an egg wash, and a soft, almost pillowy interior. When you tear into it, you’ll notice a slightly stretchy, airy crumb that melts in your mouth.
Another standout characteristic is its versatility. Brioche can be sweetened with sugar or adapted into a savory version by omitting sugar and pairing it with rich fillings like cheese. In either case, it remains a baker’s canvas for creativity.
Ingredients and Equipment
Essential Ingredients for Brioche
Crafting the perfect brioche recipe requires a careful selection of ingredients. Each component plays a crucial role in achieving the desired flavor and texture. Let’s break down the essentials for your homemade brioche bread.
Flour Selection
Flour is the backbone of any bread, and for brioche, choosing the right type is critical. Bread flour is ideal due to its higher protein content, which contributes to gluten development and gives French brioche its elasticity and structure. However, some bakers prefer a mix of all-purpose flour for a slightly softer crumb.
Choosing the Right Butter
Butter is the star of any buttery loaf like brioche! Always opt for unsalted, high-quality butter with a rich, creamy flavor. The butter should be cold yet pliable to ensure it incorporates evenly into the dough during the kneading process, creating that luxurious richness that defines a classic brioche.
Importance of Eggs in Brioche
Eggs are what make brioche dough so fluffy and rich. They add moisture, flavor, and a beautiful golden color to the finished loaf. Always use fresh, room-temperature eggs for optimal results when preparing your homemade brioche.
Role of Yeast in Brioche Dough
Active dry yeast or instant yeast is essential for brioche to rise and achieve its light, airy texture. Be sure to activate your yeast in lukewarm liquid (milk or water) if using active dry yeast to ensure the dough proofs correctly. Without properly proofed yeast, your enriched dough may not rise as desired.
Other Key Ingredients
- Sugar: Adds a touch of sweetness and enhances the golden crust of your sweet bread.
- Milk: Provides moisture and tenderness to the dough, creating the soft crumb brioche is famous for.
- Salt: Balances the flavors and strengthens the gluten structure, ensuring the loaf holds its shape.
Necessary Equipment for Baking Brioche
Having the right tools on hand can simplify the process and improve your results. Here’s what you’ll need to make the best homemade brioche bread:
Mixing Tools
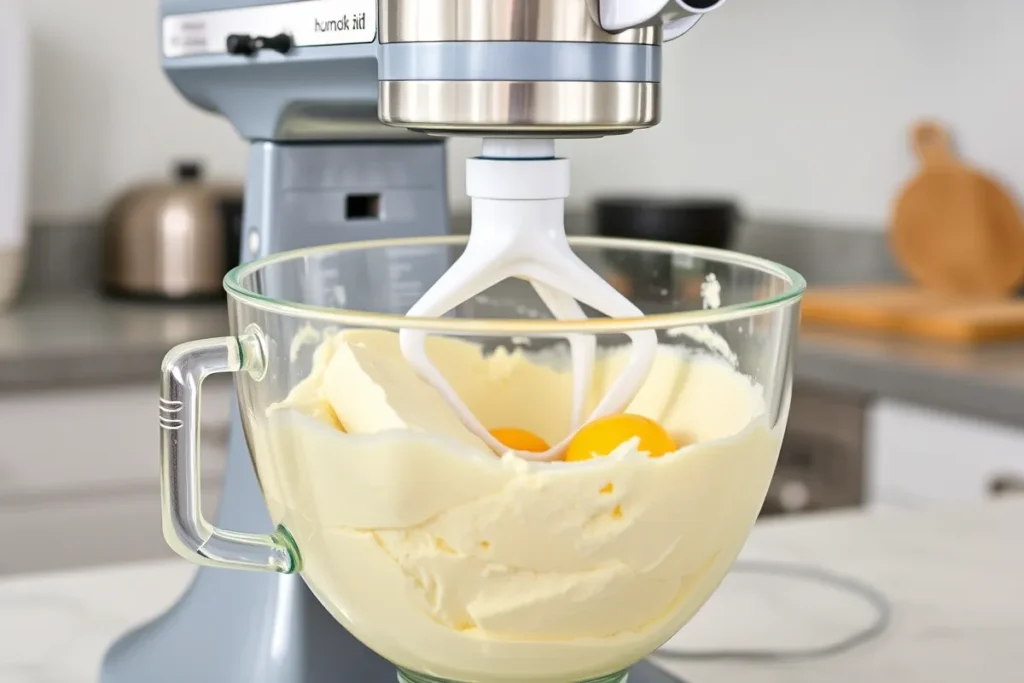
A stand mixer is your best friend when it comes to kneading the sticky, enriched brioche dough. Its dough hook attachment handles the heavy lifting, ensuring the butter and eggs are evenly incorporated.
Proofing Containers
Using a large glass or plastic bowl for proofing is essential. The bowl should allow enough space for the dough to double in size, and covering it with a damp cloth or plastic wrap keeps the dough from drying out during proofing.
Other Helpful Tools
- A kitchen scale for precise measurements when preparing your brioche recipe.
- A pastry brush for applying an egg wash to achieve the iconic glossy crust of brioche bread.
- A loaf pan or brioche mold for shaping your dough into beautiful loaves or rolls.
By carefully selecting your ingredients and tools, you’re setting the stage for a successful brioche recipe. Now, let’s move to the next stage: crafting the dough!
Step-by-Step Brioche Recipe
Making brioche might seem daunting, but when broken down into manageable steps, it becomes an enjoyable and rewarding process. This part covers every detail, ensuring your homemade brioche turns out perfectly every time.
Preparing the Brioche Dough
Mixing the Ingredients
Activate the Yeast:
To ensure your brioche bread recipe starts off perfectly, activate the yeast. In a small bowl, combine lukewarm milk (around 100°F) and sugar. Sprinkle the yeast on top and let it sit for 5-10 minutes until frothy.
Combine the Dry Ingredients:
In the bowl of a stand mixer, add bread flour and salt. Mix these dry ingredients briefly to distribute them evenly, ensuring a solid foundation for your homemade brioche dough.
Incorporate the Wet Ingredients:
Add the yeast mixture, eggs, and softened butter to the dry ingredients. Using the dough hook attachment, mix on low speed until a sticky dough forms, a key step in crafting your buttery brioche loaf.
Kneading Techniques
Kneading is crucial to develop gluten and ensure your brioche bread achieves that signature soft texture.
- Stand Mixer Method: Increase the mixer speed to medium and knead for 8-10 minutes until the dough is smooth and elastic, ready to become part of your perfect brioche recipe.
- Hand Kneading: If you’re kneading by hand, lightly flour a surface and knead the dough for about 15 minutes, folding and pressing it until it becomes stretchy.
First Proofing Stage
Transfer the dough to a greased bowl and cover it with a damp cloth or plastic wrap. Let the dough proof in a warm, draft-free area for 1-2 hours or until it doubles in size. This slow proofing enhances the texture of your French brioche.
Shaping the Dough
After the first rise, gently deflate the dough and divide it into portions. Depending on the style of brioche bread you’re making, you can shape it as follows:
- For a Brioche à Tête: Roll small balls and place them in fluted molds to achieve the classic look of a French brioche recipe.
- For a Loaf: Shape the dough into a log and place it into a greased loaf pan, perfect for making slices of buttery brioche.
Second Proofing Stage
Place the shaped dough in its final container, cover it loosely, and allow it to proof again for 45-60 minutes. The dough should rise slightly above the rim of the mold or pan, ensuring the fluffy texture of your brioche loaf.
Baking the Brioche
Oven Settings and Timing:
Preheat your oven to 375°F (190°C). Apply an egg wash to the dough for a glossy, golden crust that makes your homemade brioche visually stunning.
- Bake the brioche for 25-30 minutes (for small shapes) or 30-35 minutes (for loaves).
Checking for Doneness:
The brioche is done when the crust is golden brown and the internal temperature reaches 190°F (88°C). Cool the bread on a wire rack before slicing to enjoy the perfect brioche bread.
Variations and Serving Suggestions
Brioche is a versatile bread that adapts beautifully to different shapes, flavors, and occasions. In this section, we’ll explore popular variations and creative serving ideas that highlight the many uses of this buttery delight.
Popular Brioche Variations
Brioche à Tête
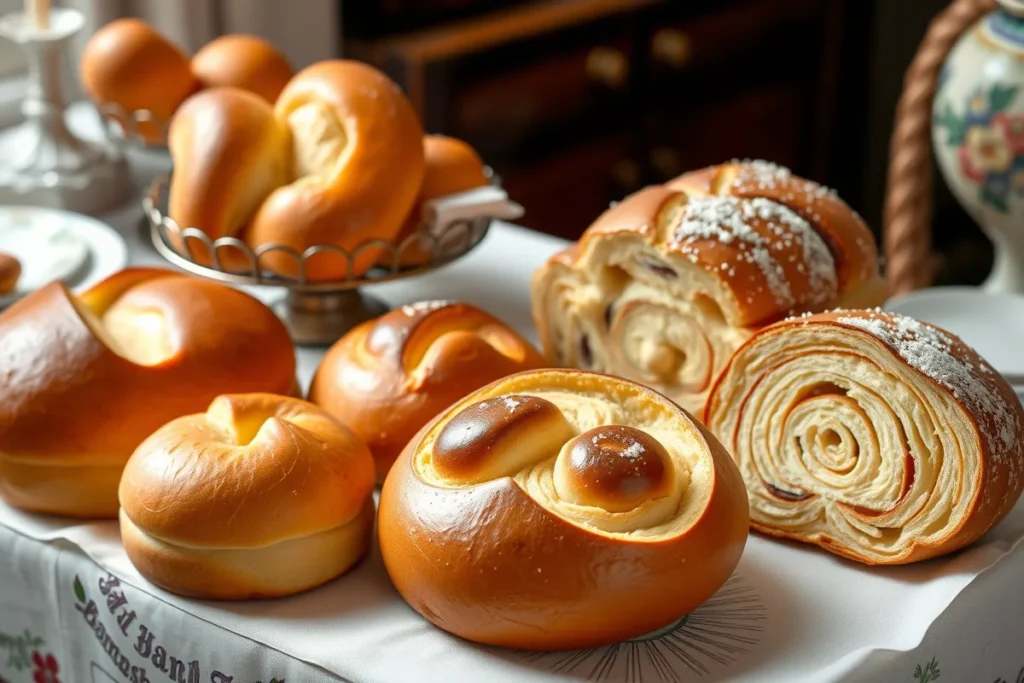
This classic French variation features small, fluted molds with a signature “head” or ball of dough on top. Its elegant shape makes it perfect for brunches or special gatherings.
Brioche Nanterre
A rectangular loaf made by lining up several dough balls in a loaf pan, Brioche Nanterre has a beautiful pull-apart quality. It’s ideal for slicing and is a staple for making French toast.
Sweet and Savory Fillings
Brioche’s mild flavor pairs well with a range of fillings:
- Sweet Fillings: Chocolate, fruit preserves, or cinnamon sugar swirls.
- Savory Fillings: Cheese, garlic butter, or herbs for a delightful twist.
Serving and Pairing Ideas
Breakfast Options
Start your day with toasted brioche slices topped with butter, jam, or honey. You can also use it to make indulgent French toast that’s crisp on the outside and custardy inside.
Dessert Applications
Brioche makes an excellent base for bread pudding, topped with custard and caramel sauce. Alternatively, use it to create rich desserts like brioche ice cream sandwiches.
As a Sandwich Bread
For a gourmet touch, use brioche for sandwiches. Its soft texture pairs well with grilled chicken, fresh greens, or a classic egg salad.
Troubleshooting and Expert Tips for Perfect Brioche
Even experienced bakers encounter challenges with brioche bread, but the good news is that most issues have simple fixes. In this section, we’ll tackle common problems and share expert tips to ensure your brioche turns out flawless every time.
Common Brioche Baking Challenges
Dough Too Sticky
Brioche dough is naturally sticky because of its high butter and egg content. However, if it’s excessively wet and unmanageable, try these solutions:
- Lightly dust your hands and work surface with flour during handling.
- Avoid over-flouring; too much will make the dough dense.
Dough Not Rising Properly
This issue often stems from yeast problems or proofing conditions.
- Check your yeast: Make sure it’s fresh and activated in the right temperature liquid (lukewarm, not hot).
- Proofing environment: Place the dough in a warm, draft-free space. Use an oven with the light on or a proofing box for consistency.
Brioche is Dense or Heavy
A dense texture can result from under-kneading or not proofing long enough. Ensure proper gluten development during kneading, and allow sufficient time for the dough to double in size during proofing stages.
Crust Too Dark or Undercooked Inside
If the brioche crust browns too quickly while the inside remains undercooked:
- Lower your oven temperature by 25°F and increase the baking time slightly.
- Cover the brioche with foil halfway through baking to prevent over-browning.
Expert Tips for Perfect Brioche
Room Temperature Ingredients
Always use room-temperature ingredients for better incorporation and smoother dough consistency.
Chill the Dough
After kneading, chill the dough for 30 minutes. This makes it easier to shape while maintaining its elasticity.
Egg Wash Application
Apply an egg wash just before baking to achieve a glossy, golden crust. For extra shine, apply a second layer halfway through baking.
Be Patient
Brioche is a slow-rising bread, so don’t rush the proofing stages. Letting the dough rise gradually develops better flavor and texture.
Use a Thermometer
To avoid under or over-baking, use a kitchen thermometer. Brioche is perfectly baked when its internal temperature reaches 190°F (88°C).
Storing and Reheating Brioche
Brioche is best enjoyed fresh, but its delicate texture and rich flavor can be preserved with proper storage and reheating methods. In this section, we’ll cover how to keep your brioche bread fresh and delicious for days—or even weeks.
How to Store Freshly Baked Brioche
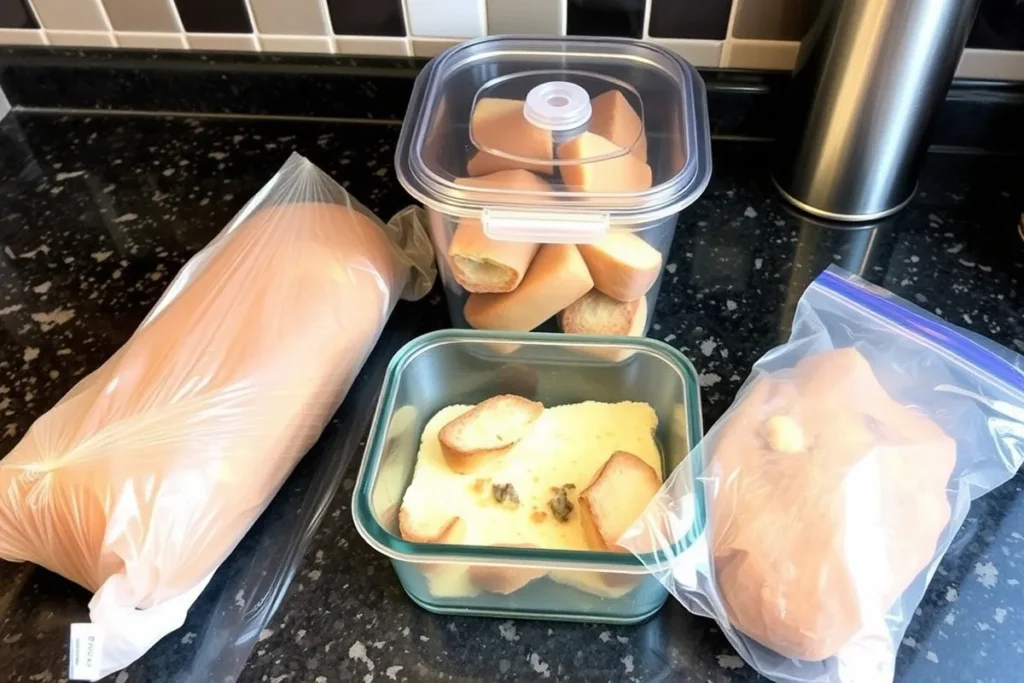
At Room Temperature
- Cool Completely: Let the brioche cool completely on a wire rack before storing. Warm bread traps moisture, leading to a soggy crust.
- Use an Airtight Container: Wrap the brioche in plastic wrap or place it in an airtight container. Keep it at room temperature for up to 2 days. Avoid refrigerating, as it can dry out the bread.
Freezing Brioche
Brioche freezes exceptionally well, making it easy to enjoy later.
- Wrap in Plastic Wrap: Wrap the loaf tightly to prevent freezer burn.
- Add an Extra Layer: Place the wrapped brioche in a freezer-safe bag or container.
- Label and Freeze: Freeze for up to 3 months.
Reheating Brioche
For Softening the Bread
- Oven Method: Preheat your oven to 350°F (175°C). Wrap the brioche in foil to retain moisture, and heat for 8-10 minutes.
- Microwave Method: Wrap individual slices in a damp paper towel and microwave for 10-15 seconds to restore softness.
Toasting
For a crispy exterior, slice the brioche and toast it in a toaster or on a hot skillet.
Tips for Maintaining Freshness
- Avoid Pre-Slicing: Slice brioche only when ready to eat, as pre-slicing exposes more surface area to air, causing faster staleness.
- Use Resealable Bags: For room temperature storage, resealable bags are great for keeping air out while retaining freshness.
Frequently Asked Questions About Brioche
Brioche is a beloved bread, but even the most enthusiastic bakers and eaters often have questions about making, storing, and enjoying it. Here, we’ll answer the most common queries to help you perfect your brioche recipe.
1. What makes brioche different from other breads?
Brioche stands out because of its enriched dough, which includes a higher ratio of eggs, butter, and milk compared to standard bread. These ingredients create its soft texture, rich flavor, and golden crust.
2. Why is my brioche dough so sticky?
Sticky dough is normal for brioche due to its high butter content. Kneading it properly, chilling the dough, and lightly flouring your hands can make handling it easier.
3. Can I make brioche without a stand mixer?
Yes, you can make brioche by hand. It requires more time and effort, as the dough is sticky and needs extended kneading to develop gluten. Use a dough scraper to manage the process.
4. How can I tell if my brioche is proofed correctly?
During proofing, the dough should double in size. A simple test is to gently press the dough with your finger—if the indentation springs back slowly, it’s ready.
5. Can I make brioche ahead of time?
Absolutely! Prepare the dough and let it rise overnight in the refrigerator. The slow rise enhances flavor and simplifies shaping the next day.
6. What’s the best way to use leftover brioche?
Leftover brioche can be repurposed in several ways:
- Make French toast or bread pudding.
- Use it for sandwiches, both sweet and savory.
- Cube and toast it for croutons or stuffing.
7. How long does brioche stay fresh?
Stored properly at room temperature, brioche stays fresh for about 2 days. In the freezer, it lasts up to 3 months.
8. Can I make a vegan version of brioche?
Yes, a vegan brioche can be made by substituting butter with plant-based alternatives, milk with almond or soy milk, and eggs with flaxseed or aquafaba.
Armed with these answers, you’re ready to tackle any doubts and fully embrace the world of brioche. From understanding its unique properties to enjoying its versatile applications, you now have everything you need to make and love this classic French bread.
Conclusion
Brioche isn’t just bread; it’s a culinary experience that combines rich flavors, a soft, airy texture, and incredible versatility. Whether you’re enjoying it as a simple slice with butter and jam, transforming it into a gourmet sandwich, or crafting indulgent desserts like French toast or bread pudding, brioche has a way of elevating any meal.
By following this guide, you’ve learned about its history, mastered the art of preparing and baking it, and discovered ways to troubleshoot common issues. Plus, with the creative variations and serving suggestions, there’s no limit to how you can enjoy this buttery, tender delight.
So, roll up your sleeves, gather your ingredients, and bring the magic of homemade brioche into your kitchen. Once you’ve experienced the satisfaction of baking this classic bread, you’ll never look at store-bought loaves the same way again. Bon appétit and happy baking!

